
Good condition of the tooth belt, or the belt that turns the three sanding plates (discs) of the Lägler TRIO fine sanding machine, is critical. No belt,
no sanding. It’s that simple.
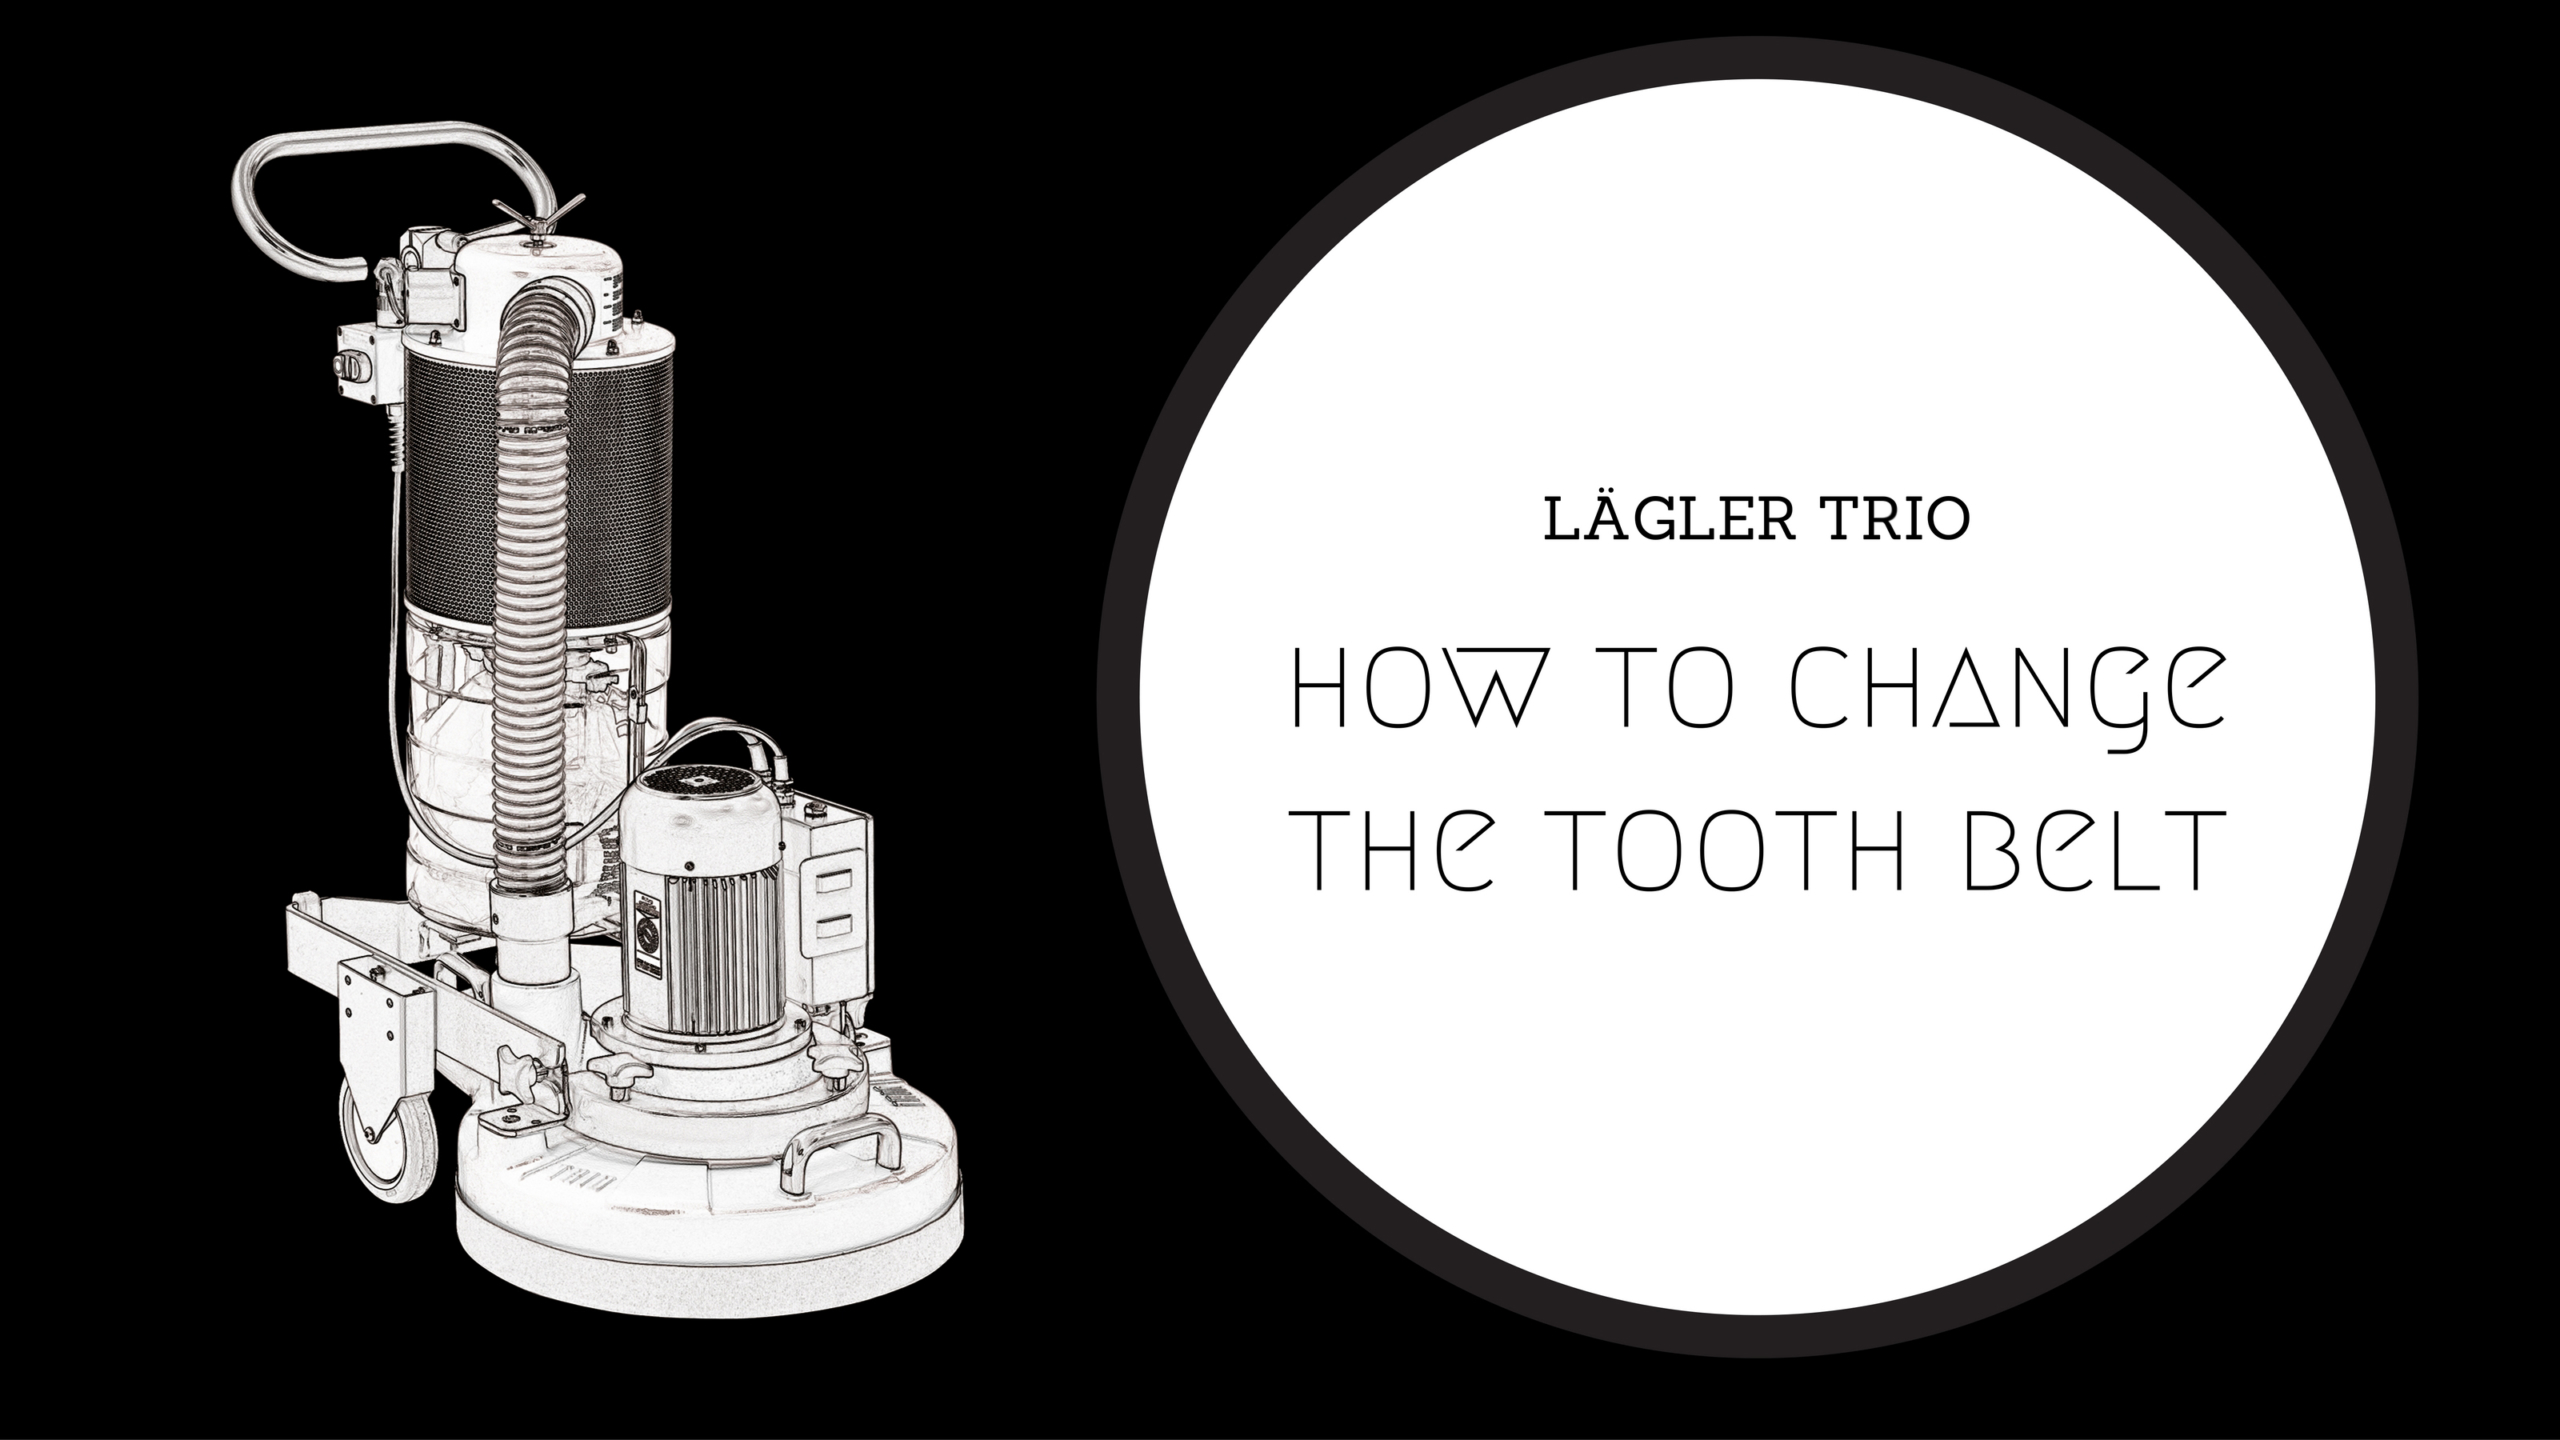
In this post, and the video below, we give step-by-step instructions for removing the current belt and replacing it with a new belt.
How to Know When the Tooth Belt Needs to Be Changed
It can be difficult to know when to change the belt, unless it’s the most obvious situation: a three- or four-year-old belt that has dried and become brittle,
and then breaks. In that case, the sanding discs will not turn.
Otherwise, a common way to recognize when the tooth belt needs to be changed is to notice decreased RPMs and less dust filling the dust bag.
How to Remove the Tooth Belt
Starting with the machine turned off and unplugged from power:
1. Lock the handle into its forward position, using the clamping lever at the front of the handle.
2. Lean the TRIO backward to rest safely on the two protective cushions at the back-bottom of the machine’s frame, and on the guide tube.
3. Remove the sanding plates by grabbing the edges and pulling the plates away from the machine, disengaging the TRIO’s three prongs from their rubber
jigs. Caution: Do not use a screwdriver or other tool to pry the plates away from the machine; prying with tools can cause damage.
4. Remove the eight screws of the cover and remove the cover. Recommended: Check the sealing felt on the inside of the cover and replace as needed.
5. Loosen the counter nut of the belt tensioner, using a 17mm wrench, by turning the nut all the way back against the casing wall.
6. Expand the spring by turning the second nut back to the counter nut.
7. Push the belt tensioner back and remove the belt.
8. Use a vacuum to remove dust and dirt inside and around the pulley mechanism.

How to Insert a New Tooth Belt
1. Push the belt tensioner all the way back to the casing wall.
2. Insert the new belt with the geared side facing and engaging the pinion gearing, with the flat side of the belt skirting the gear bearings.
Caution: Incorrectly inserting the belt can cause damage to the machine.
3. Tighten the spring using the nuts to adjust the spring to the proper length:
a. Orange spring: 55 millimeters (approx. 2 1/8”)
b. Blue spring: 52 millimeters (approx. 2”)
4. Replace the cover, fastening it with the eight screws previously removed
5. Mount each sanding plate by first inserting one of its three prongs (locking bolts) into one of the rubber jigs, then fitting the other two into their
respective positions. Press the plate into position as far as it will go.
6. The belt replacement is complete. Stand up the TRIO, readjust the handle to your preference for use. You’re ready to sand again.
Related Blog Posts
How to Clean the Lägler TRIO Filter
How to Dismantle + Reassemble the Lägler TRIO Filter Unit
Arrows + Abrasives: How to Extend the Life of Abrasives Using the TRIO
Related Parts