
HUMMEL owners, tell us: How easy is it to remove and replace your HUMMEL sanding drum? Yeah, easy-easy. DIY in the shop, at your trailer, on the jobsite
floor, right? No need to waste time or money for someone else to do it.
If you haven’t swapped out sanding drums yet, we have a one-minute “How to Replace a HUMMEL Sanding Drum” demo
video on our Lägler North America YouTube channel.
Damaged sanding drums lead to damaged floors. Damaged floors lead to customer complaints, callbacks, re-sanding, and a lot of expense on your part. Needless
to say, it’s far cheaper to pay a little attention to the condition of your drum and replace it, when needed.
When you replace a worn or moderately damaged drum, save it. It’s still of use for first cuts when sanding especially rough floors or decks.
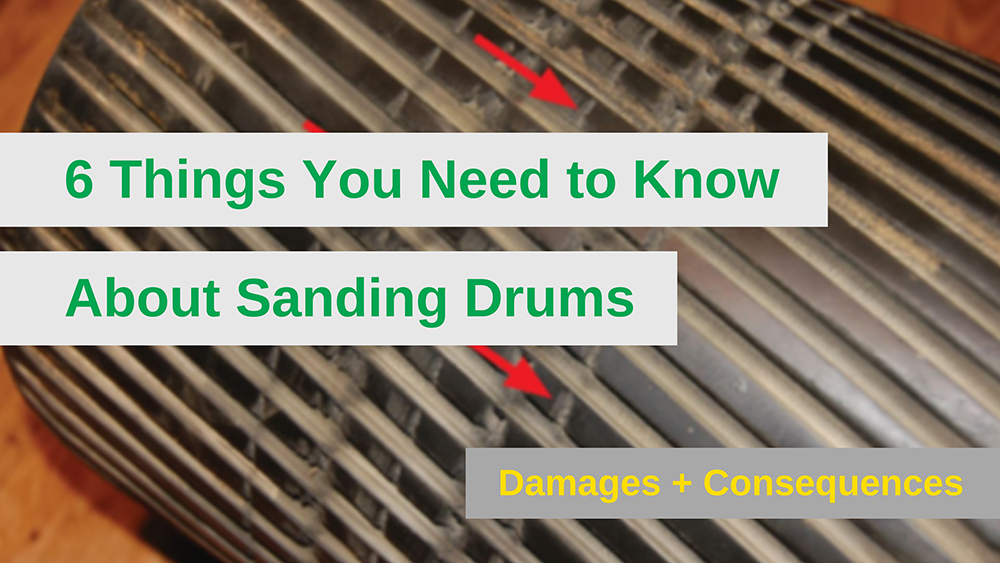
Below are photos of damaged drums and the consequences of continuing to use them when sanding wood floors.
These unwanted cuts in the drum’s rubber come from nails, staples or other sharp objects protruding from the subfloor. Careful subfloor prep avoids this
type damage to a sanding drum.
When sanding with a drum that has this damage, you’ll see “streaks” appear on the floor as you sand. Those lines are raised marks that happen because of
the nail-torn grooves left in the drum not making proper contact with the sanding surface.
A drum with this type of damage needs to be replaced.
 |
 |
Loose nails, staples or other debris can stick into the rubber and hold on for the ride. Obviously, that leads to an uneven drum and sanding result. The
debris can damage the drum and belt abrasive. It also leads to gouging the sanding surface.
You might be able to remove the debris from the rubber without leaving or causing damage to the drum. But we recommend you think twice. The slightest damage
can transfer to the floor and, like we’ve said, that becomes way more costly to you.
The safest move is to replace the sanding drum. But save the old drum for special uses, like using it on extra-rough first cuts. That can spare your new
drum some wear, and allow you to put on the new drum for finer cuts.
 |
 |
A drum that is out of balance makes uneven contact with the sanding surface, causing chatter (photo below). Poor balance is common with aftermarket drums.
Lägler balances its drums using a specially designed machine at the factory in Germany. It’s not unlike how a mechanic shop balances your truck’s wheels.
And the weight tolerance in Lägler’s process is extremely tight [Read “Sanding Drums: Lägler vs Aftermarket”
to learn how tight, and other stuff].
An unbalanced sanding drum needs to be replaced.

The rubber layers of sanding drums age, stiffen and wear out much like car tires do. The shape and flexibility of the rubber changes over time, regardless
of the amount of use. If you are using a “new” drum that sat for years waiting to get into the game but in reality is six to eight years old, it absolutely
is due for replacement, no ifs, ands or buts. Just like with car tires, there is a shelf life on the rubber’s usefulness.
Old, worn out drums tend to cut harder on the edges. Lägler drums are designed to have a “football” shape that feathers toward the edges and avoids those
hard edge-cut lines in the floor. As a drum loses its shape over time, it fails to retain that design.
How long does a drum last? The sanding drum you are using daily should be changed every three years. If you sand somewhat regularly, but
not daily, Lägler recommends replacement every five years. To minimize problems with your sanding drum and get the most out of its performance, keep
it clean between uses and check its condition on a regular basis.
Plan for regular replacement, just like you would plan for regular maintenance for your truck or van. It’s part of the investment for consistent, top-notch
performance of a machine your business relies on.
 |
 |
Dust and debris collect in the aluminum drum cylinder, throwing the balance off. That causes chatter in the floor.
This is easy to avoid with regular cleaning. At least once every month, remove the drum and vacuum out the cylinder. While you’re doing it, look over the
drum’s condition and tend to any maintenance that’s needed.

This is not a sanding drum issue, but a situation that can be fixed with the right use of a sanding drum. Most common on pine and softwood, the knots are
harder and do not sand as well, similar to end-grain or inlays of different species.
For these situations, use Lägler’s hard drum (recognized by its reddish-colored rubber). It is less flexible and cuts more aggressively, the way you need
for the knots.
 |
 |
Learn more about Lägler how-to. Subscribe to the Lägler North America newsletter and join us on social media: Instagram, Facebook, Twitter and YouTube.